
Today I’m sharing my favorite Valentine’s Day cookie recipe and creating Valentine’s Day cookie care packages to enjoy and share.
Are you ready to spread some love on Valentine’s Day?
Today I’m making my favorite old fashioned roll cookies.
And creating Valentine’s Day care packages to share with family and friends.
This post includes affiliate links for your convenience at no additional cost to you. You can read my full disclosure policy here.

Monica Vargas Photography
I’m teaming up with Annie, Mary Ann, Cindy, Sheri, and Kim.
I can’t wait to see what they have planned.
They’re so creative and clever and you’ll find their post links below.

Whether you’re hosting a Valentine’s Day cookie decorating party,
or making care packages to deliver or ship,
my favorite roll cookie has you covered.

Roll cookies are easy, fun and a delight to share.
Perfect for Valentine’s Day gifting.

“Aunties and grandmothers who roll cookies for and with children are scarce these days.”
So says a page torn from my mom’s, The Joy of Cooking, circa 1960’s.
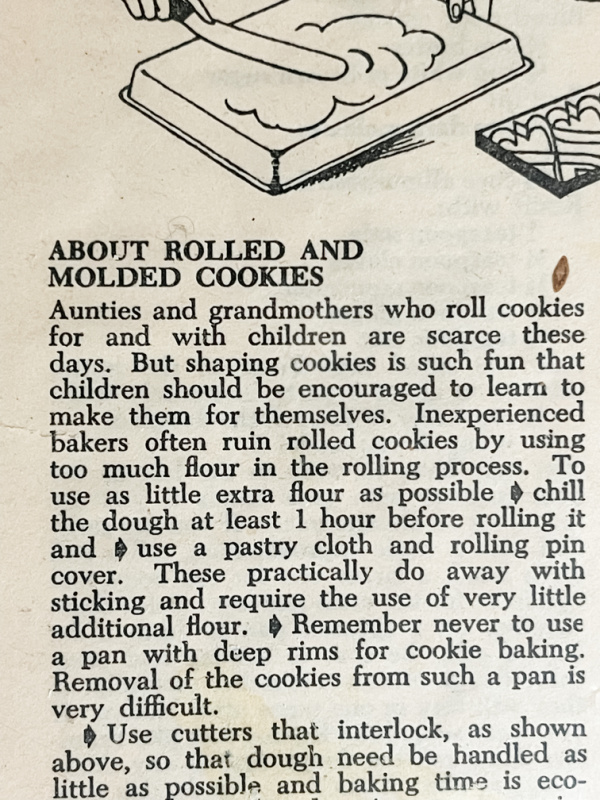
This auntie is on the job!

Valentine's Day Roll Cookies with Decorative Icing
Ingredients
Roll Cookies
- 1/2 cup Sugar
- 1/2 cup Butter, room temperature
- 2 Eggs
- 2-1/2 cups All-Purpose Flour
- 2 tsp Double-Acting Baking Powder
- 1 tsp Vanilla Extract
Decorative Icing
- 4 Egg Whites
- 1/2 tsp Cream of Tartar
- 1/2 tsp Vanilla Extract or Lemon Extract I use lemon extract.
- 5 cups Powdered Sugar, sifted
Instructions
Roll Cookies
- Using standing mixer, cream together sugar and butter.
- Mix in eggs, one at a time.
- Add flour, baking soda and vanilla (or lemon extract) and continuing mixing until dough forms.
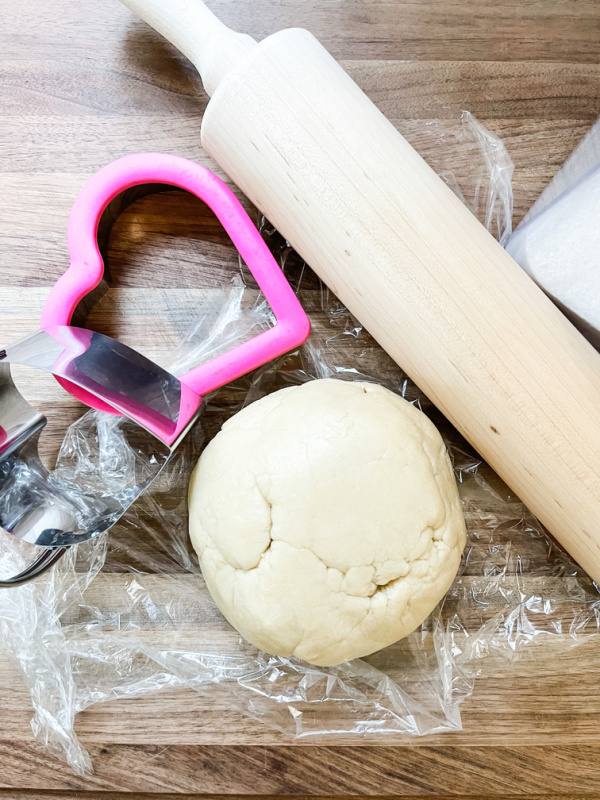
- Roll dough into ball and cover with plastic wrap.
- Refrigerate at least 3 hours. Or overnight.
- When ready to bake, preheat oven to 350.
- Prepare cookie sheets by greasing or lining with Silpats or parchment sheets.
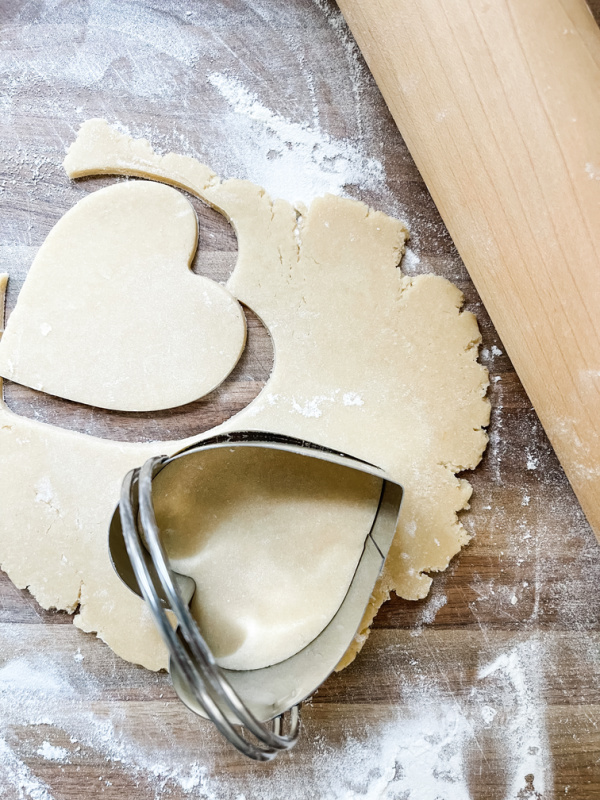
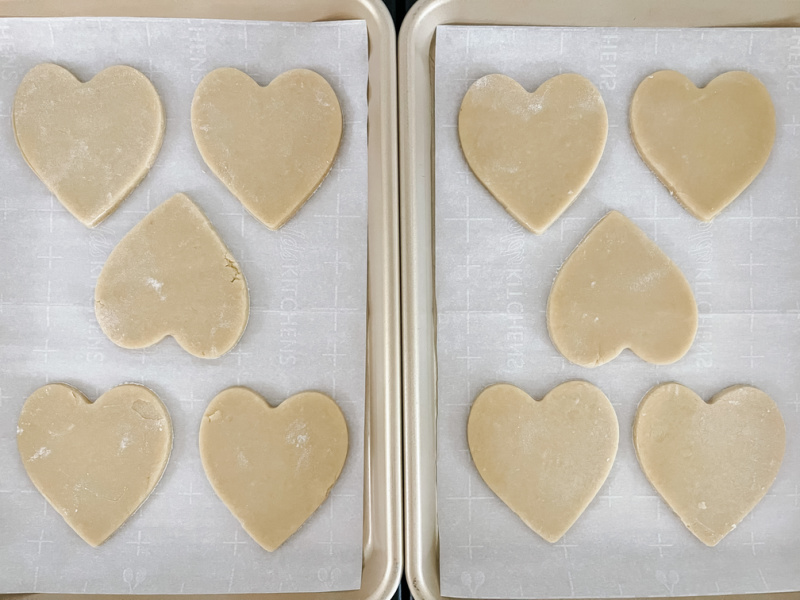
- Divide chilled dough into 2-4 smaller pieces and roll out one at a time using enough flour so dough won't stick (but not too much).
- Roll to desired thickness. Maybe 1/8" ... these cookies with rise up and become thicker with baking.
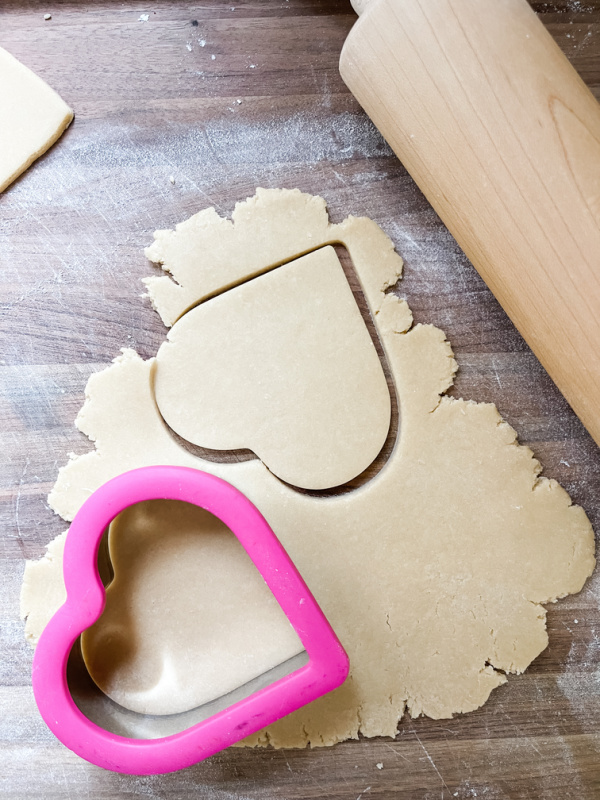
- Cut dough with cookie cutter and place onto prepared cookie sheets.
- Repeat process, incorporating
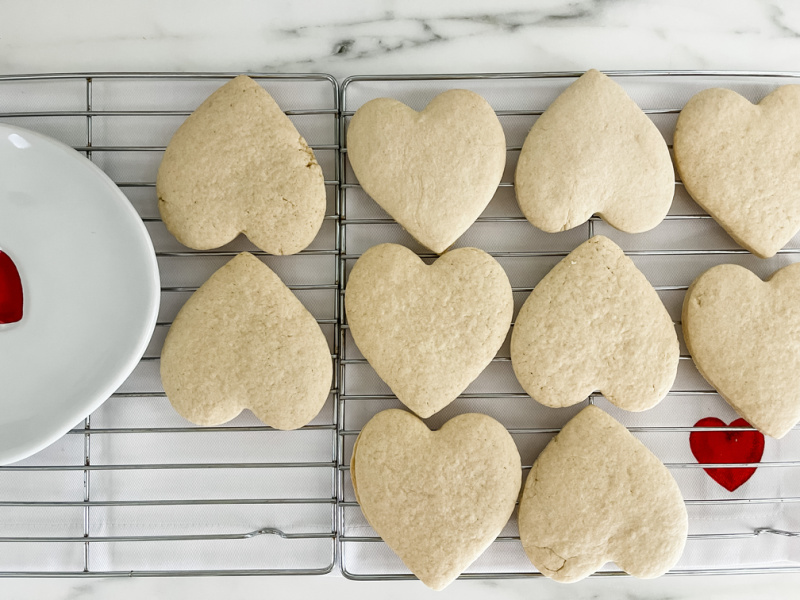
- Bake each sheet of cookies for 11 minutes. Don't let the bottoms brown.
- Remove from oven and cool for 5 minutes, then move cookies to cooling racks.
Decorative Icing
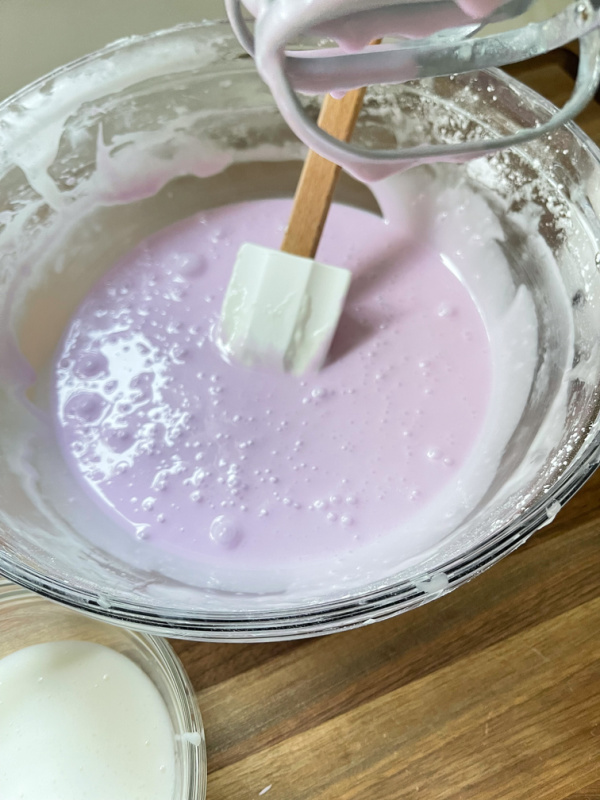
- Beat egg whites until frothy.
- Gradually add sifted sugar and continue beating until frosting is consistency you desire.
- Divide icing into smaller bowls and add food colorings.
- Frost away ... then let cookies sit until completely dried. They are generally best eaten the next day, after frosting continues setting overnight. Cover lightly to keep fresh. To freeze, place in single layer on cookie sheet into freezer for a couple of hours, then move to small containers. To defrost, remove from freezer and place on single layer.

Let’s Decorate ~
After the cookies are baked and completely cooled, it’s time to decorate. Piping and flooding a cookie is way beyond my ability so I came up with a more abstract way of decorating. First, I ice the entire cookie using a regular knife or small, offset spatula. Then I dip a bamboo skewer into a different color icing and create a zig zag pattern by holding it over the cookie and waving it back and forth quickly. I might go over it a couple of times. And you can also use multiple colors.

Creating Care Packages ~
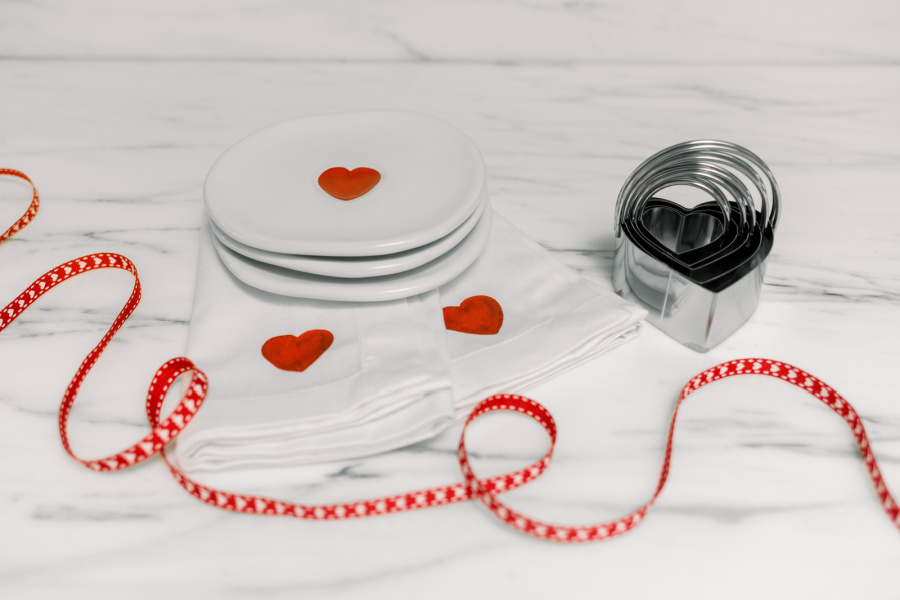
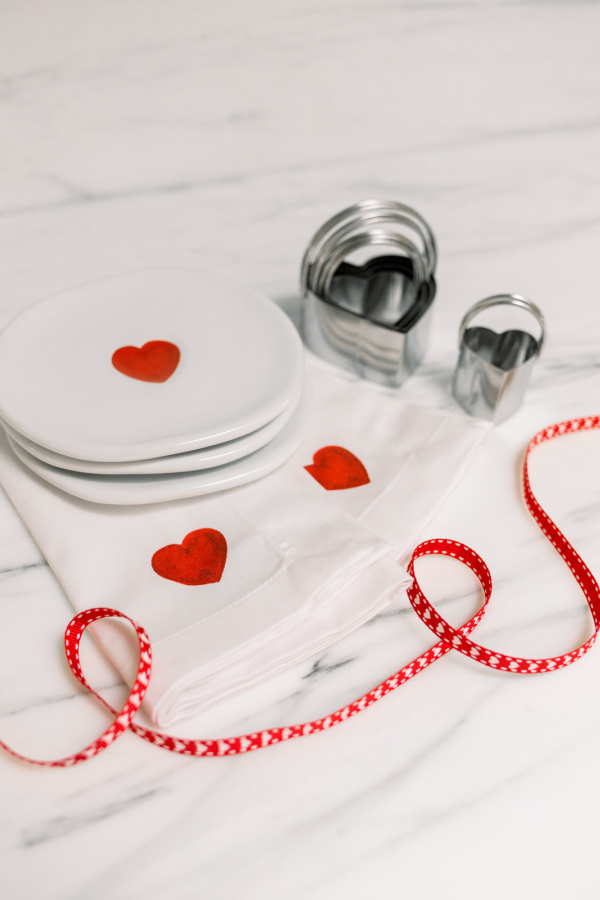
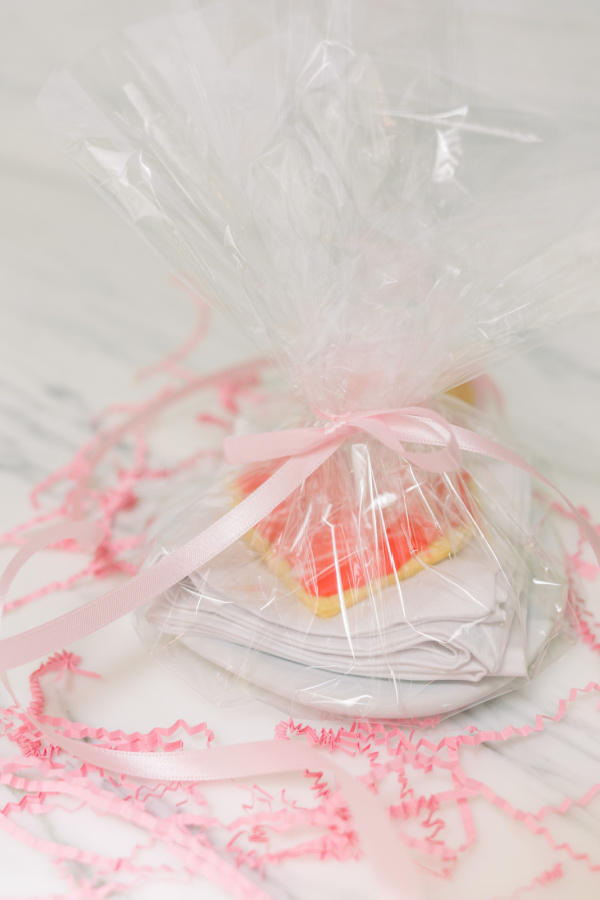
Almost as fun and decorating the cookies is finding cute ways to package them as gifts. Who doesn’t enjoy finding a cute cookie care package on their doorstep? I used these small, bakery-style windowed boxes and filled them with pink confetti. For a perfectly sized cookie cutters I used the largest in this set of heart shaped cookie cutters.

For my local niece and friends nearby, I placed the cookies right on top of the confetti and dropped the boxes on their doorsteps. For the care packages I shipped to my grand-nieces and nephews, I put the cookies inside cellophane bags before placing them in the bakery boxes. And I tied each box with this pink and white ribbon.

For larger cookies, I used this Wilton cookie cutter and placed them on these Valentine themed appetizer plates (here’s another cute plate option). I wrapped them with cellophane paper and red and white ribbon. These would make great Valentine’s Day party favors and can be repurposed as trinket trays.

A few tips:
- Depending on the size of your cookie cutters, make at least two batches of dough. One batch yields only 18-20 of my medium and large size hearts.
- The icing takes a long time to dry and fully set. At least 12 hours, preferably overnight.
- If you’re hosting a cookie decorating party, asks guests to bring cookie sheets to transport their cookies home.
- Here’s the ideal timeline for the entire process: make dough and chill overnight; roll and bake in the morning; decorate in the afternoon; package and deliver/ship (or eat) the next day.
- If you’re shipping cookies and want them to stay fresh, overnight shipping is ideal. But … big BUT … overnight shipping (any kind of shipping) is outrageously expensive and I nearly passed out at the UPS Store counter. A lot has changed since I used my babysitting money to mail cookies, packed in a shoe box, to my high school sweetheart at the Air Force Academy. Anyhoo, you can probably get a decent pair of shoes for what shipping is likely to cost. Be warned.
- As tempting as it may be, try to hold off sampling your cookies until the icing is fully set. For some reason they just don’t taste their best until completely dry.

PIN TO SAVE & BE READY FOR VALENTINE’S DAY!

For more Valentine inspiration you may enjoy my Valentine’s Day Tea Party Ideas.
![]()
So there you have it,
Valentine’s Day Care Packages to Enjoy and Share!

Now let’s visit Annie, Mary Ann, Cindy, Sheri & Kim!
Valentine’s Day Ideas to Share with Friends
![]()
As always, I appreciate your visit and welcome your thoughts in the comments below.

Happy Valentine’s Day!


Reader Interactions