“Happiness is a place between too little and too much.” ~ Finnish Proverb
When we moved into Snowberry last year, organizing the garage was the last thing on my mind.
The garage quickly became a warehouse for unpacked boxes, furniture and other items that hadn’t yet or wouldn’t find a place in our newly renovated house.
Can you relate?
This post includes affiliate links for your convenience at no additional cost to you. You can read my full disclosure policy here.
When we bought the house, it had a carport. No garage.
The original garage had been converted to a great room decades ago.
Recently I shared the great room renovation process as well as the finished space.
A carport didn’t cut it for us. We’re garage people …
We want/need the enclosed storage space a garage provides, and we like to occasionally park a car in there just to prove we can.
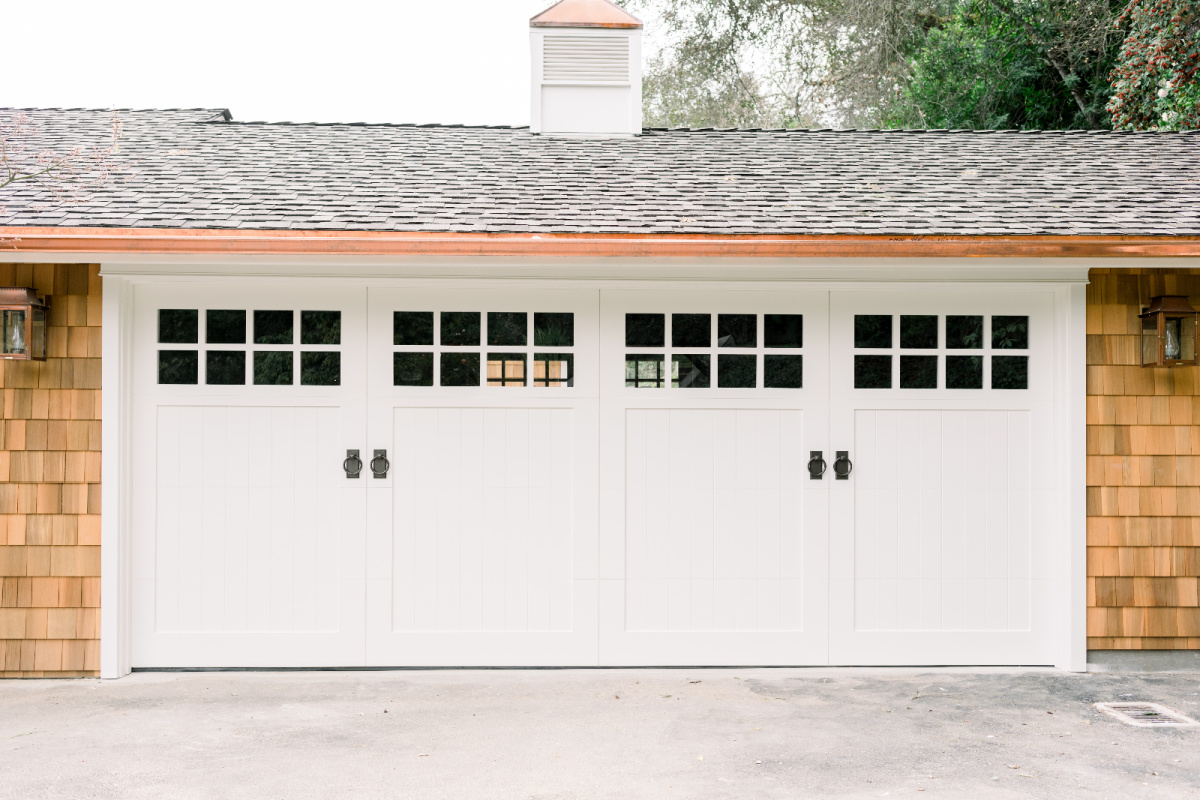
As part of our whole-house renovation, the carport was converted into a proper, enclosed garage.
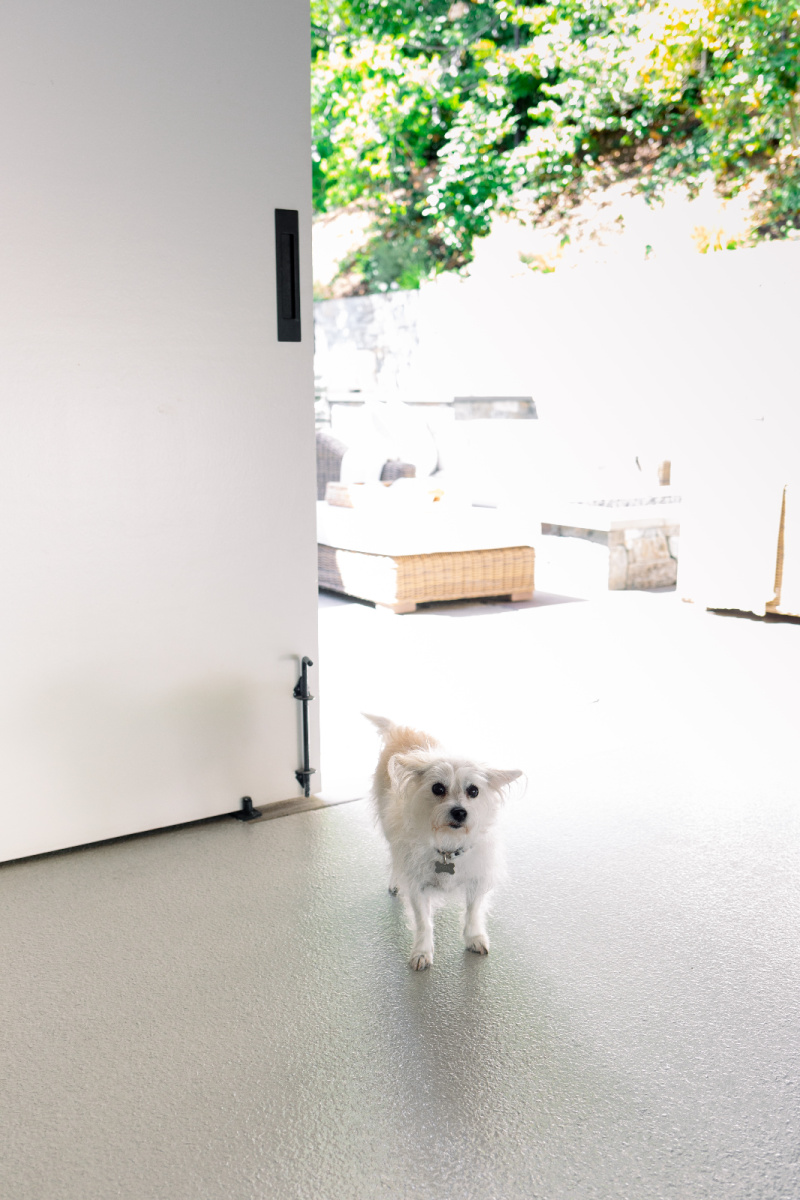
We added carriage doors to the back wall of the garage at the suggestion of our landscape designer.
Part of our property sits on the opposite side of the garage.
And opening both the garage door and carriage doors allows us to connect the two spaces for summer soirees.
Turns out it was beneficial for our landscaping project too … when it came time to tear up the back patio a Bobcat was able to cruise right through the garage.
You may have noticed the doors don’t open like carriage doors.
They slide like barn doors.
I have a thing about barn doors.
We don’t live in a barn.
You could point out that we don’t live in a carriage house either.
But I don’t like to get bogged down with facts.
The carriage doors are one of the best decisions we made during the entire renovation.
In addition to being great for function, they add a really nice design element to our backyard patio.
Funny story …
Our electrician overheard me joking about having a dance party in the garage and decided to add a ceiling outlet for a disco ball!
I’ve gotten off track … easy to do when working on an organization project.
Let’s get back to it.
HOW IT STARTED
Holy Moly
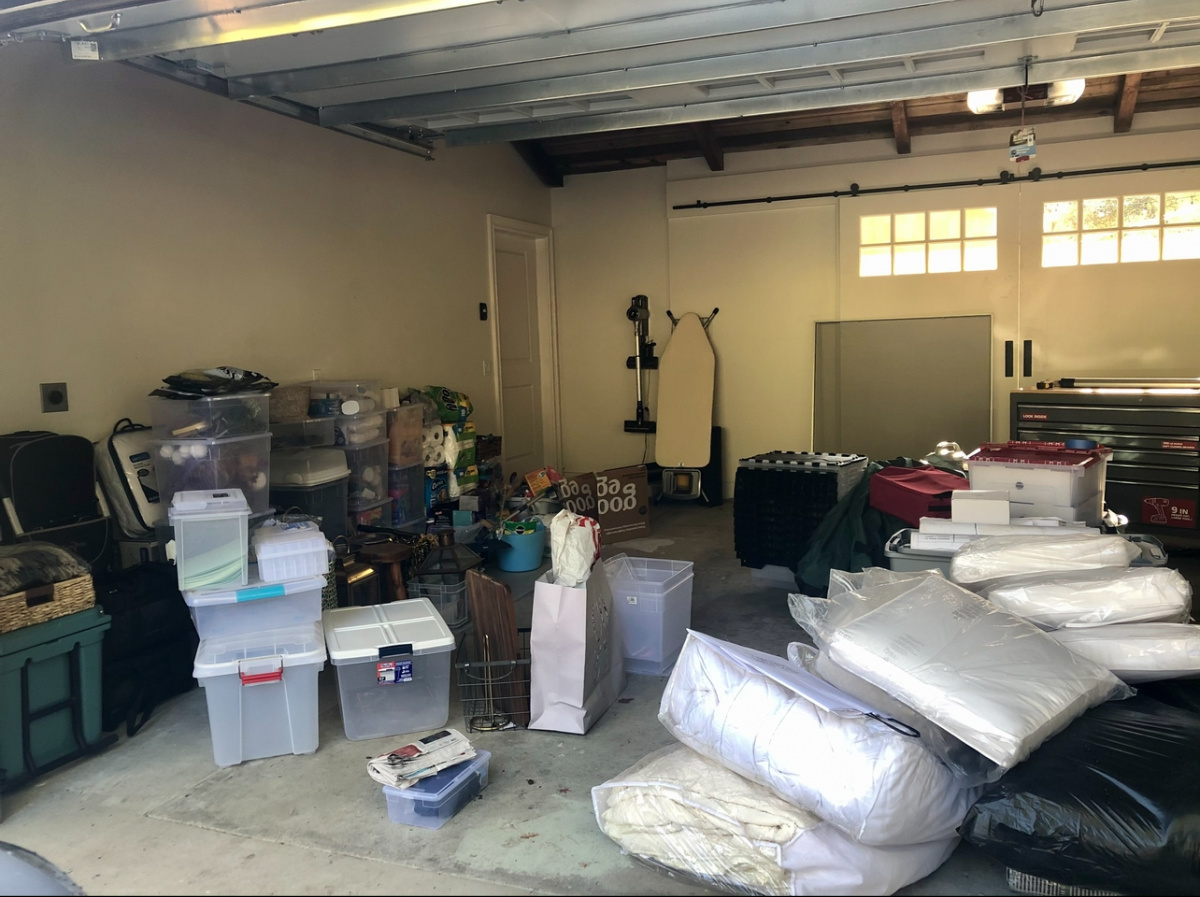
Before
Last fall we were ready to tackle the garage makeover.
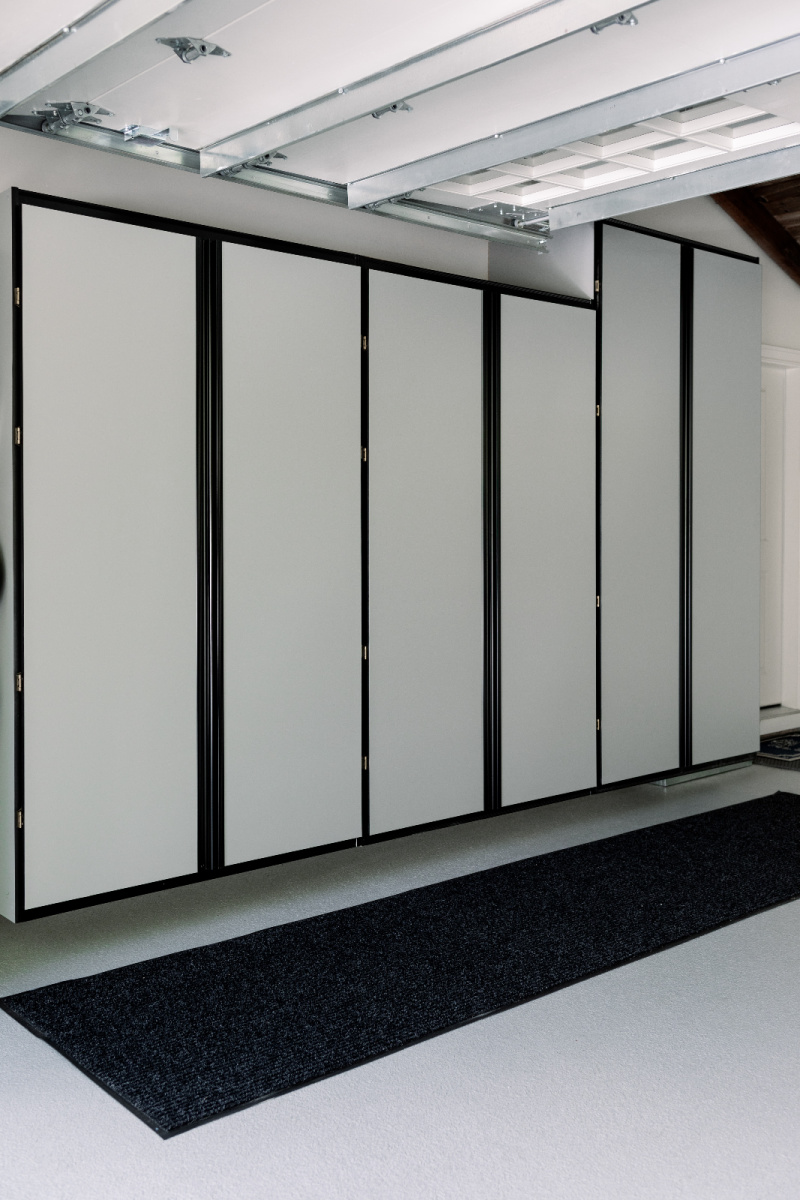
We both like the idea of cabinets to keep things behind closed doors.
We reached out to We’re Organized, a Bay Area closet and garage organization company, to give us a quote.
We’d seen an advertisement for their garage products and liked the streamlined look of their cabinets.
But first we needed to address the garage floor. It was in dismal condition.
We decided an epoxy finish was the way to go.
It’s not only durable, but it’s easy to clean and looks nice.
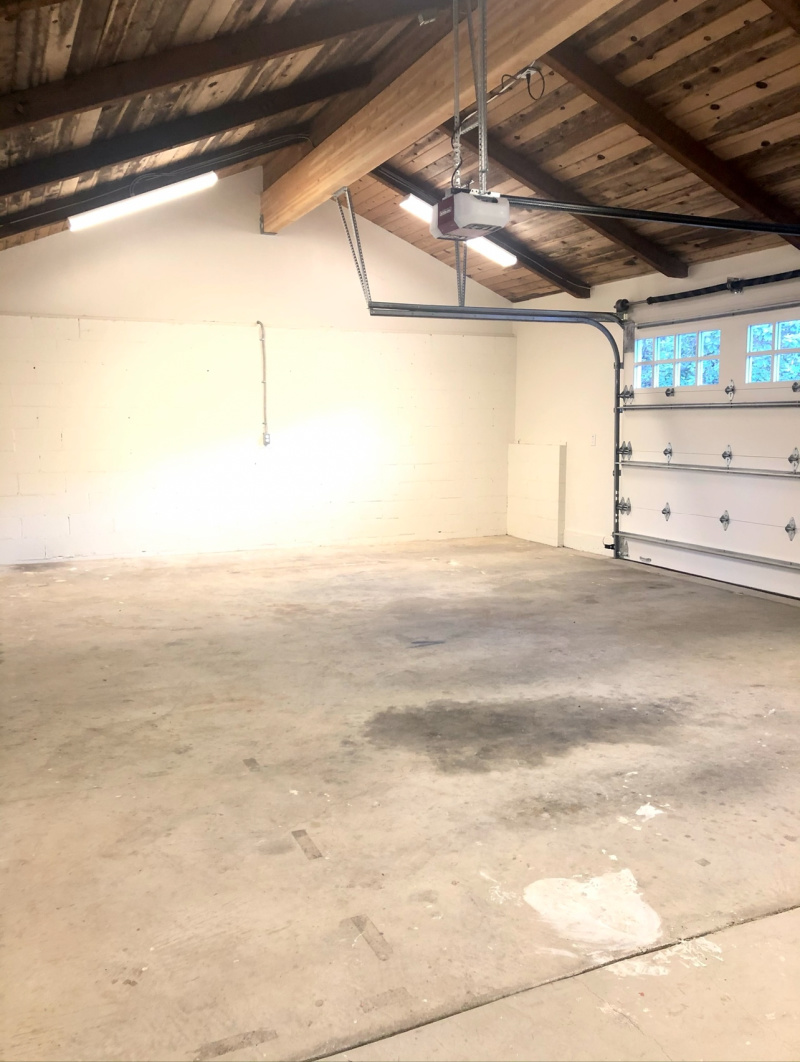
Before
Our sales rep from We’re Organized represents Epoxy Armor Systems as well and provided quotes for both projects.
This post is not sponsored by either company.
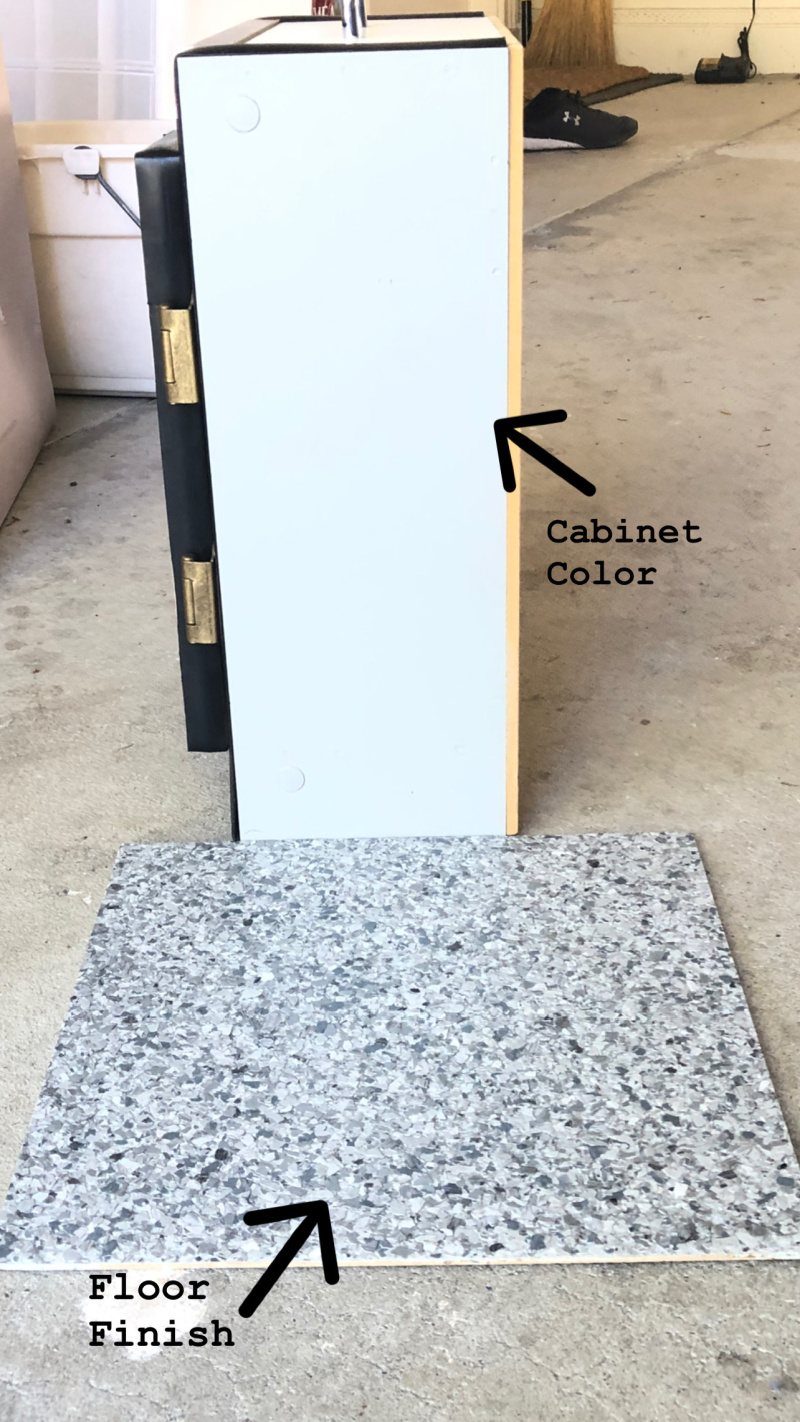
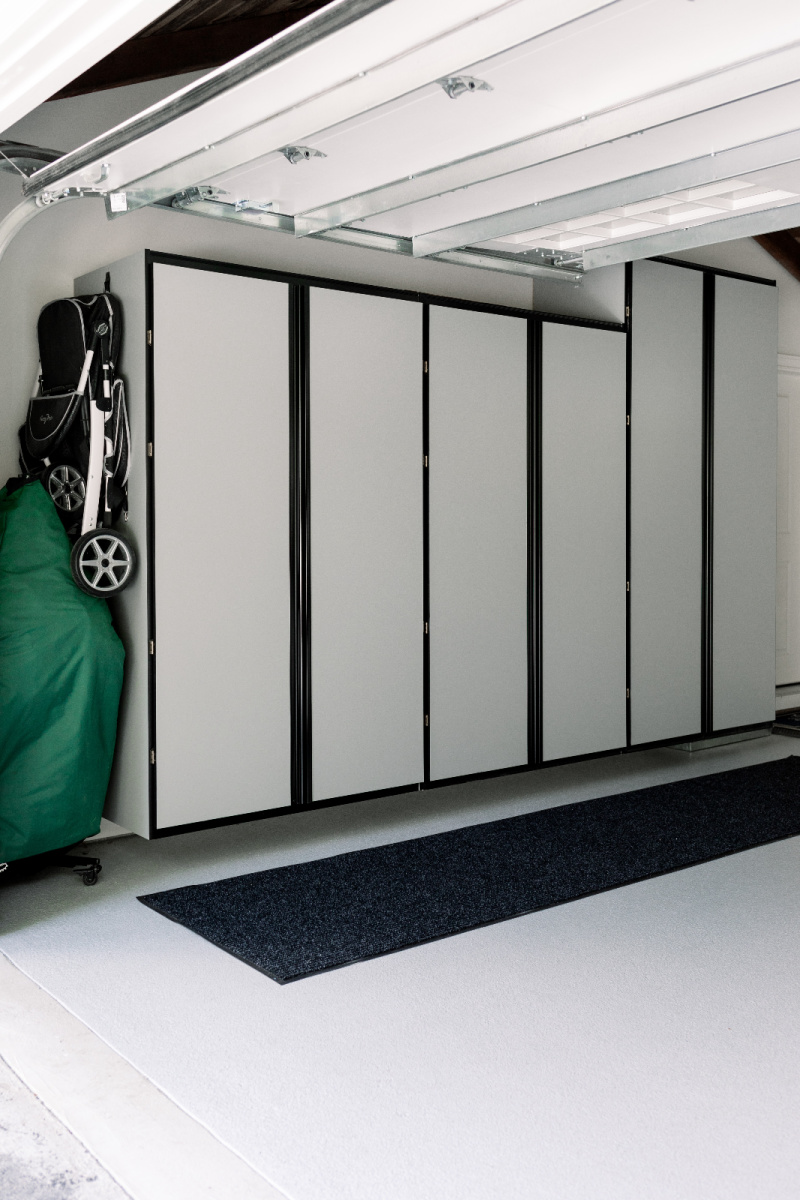
We decided to move forward and selected gray cabinets and dark gray, vinyl flake floor.
With these decisions made, and the work scheduled, it was time to sort through the contents of the garage.
THE PURGE EDITING PROCESS
The first step of any organization project is assessing what you have and then edit, edit, edit.
Edit is another way of saying toss, sell, and donate.
As downsized, empty nesters we’ve become ruthless about editing
I organized our main bedroom closet several months ago and shared questions I ask myself when tackling an editing process.
They apply to any type of organization project and go something like this.
- Do I need it (use it)?
- Do I love it?
- Does it have sentimental value?
- Do I have (organized) space for it?
Next, I sort into categories – things it makes sense to keep together.
These are some of our garage categories:
- Tools and equipment (including extra paint)
- Gardening (leaf blower, rake, brooms)
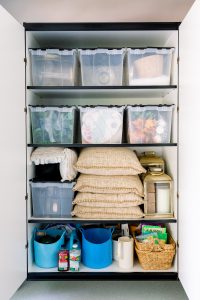
- Outdoor (pillows, cushions, towels, throws, ice chests)
- Travel (suitcases)
- Sports (golf clubs, tennis racquets, exercise equipment)
- Holiday and seasonal décor
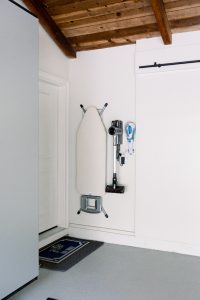
- Cleaning (stick vacuum, dust buster, step stool, backs stocked cleaning products)
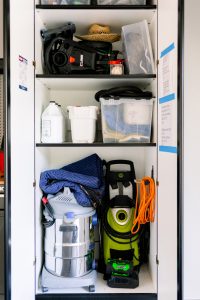
In addition to the above categories, we designated a cabinet for pantry, back stock items and small appliances.
We don’t have a kitchen pantry, so this seemed like a great solution.
CONTAINING OURSELVES
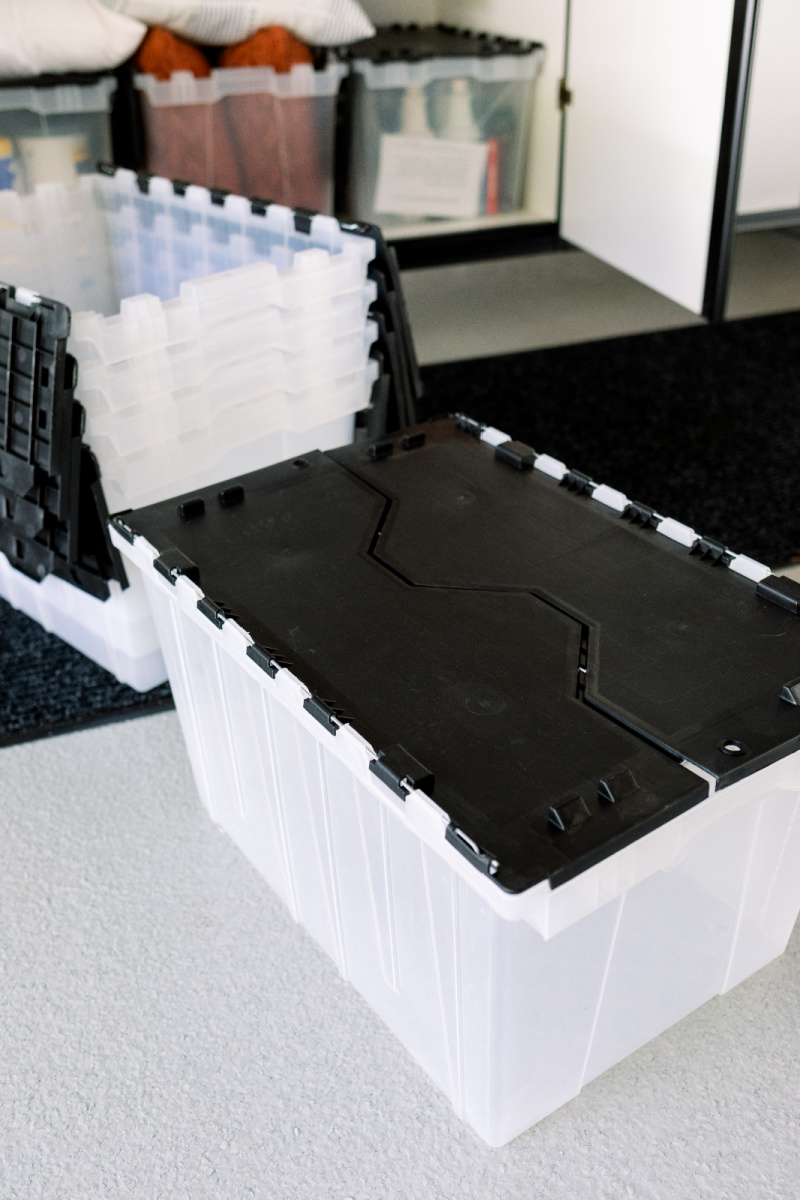
While waiting for our cabinet installation, we bought inexpensive storage bins at Lowe’s and got to work filling them.
Corralling smaller items into bins and baskets is the best way to maximize storage (and keep more stuff).
I purchased storage containers specifically for ornaments and wreaths at The Container Store.
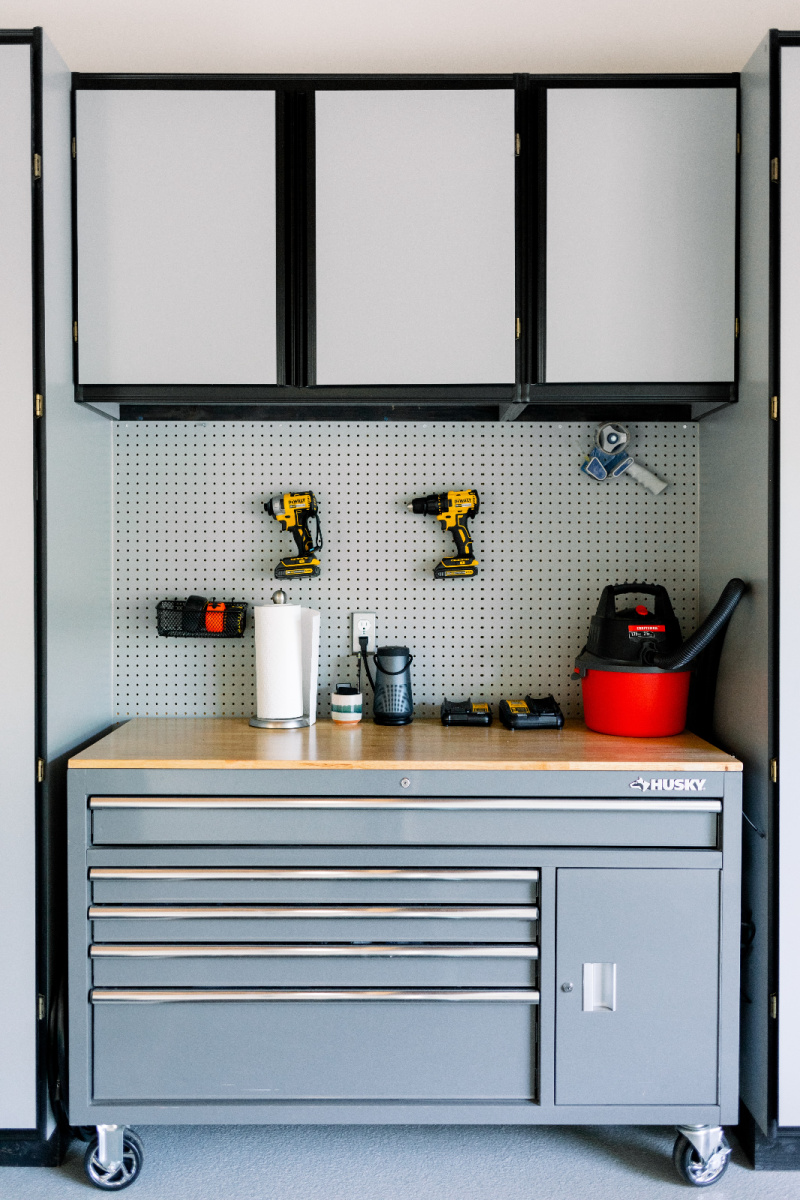
Jim already had a tool chest and our garage cabinet plan was designed around it.

EPOXY FLOOR
The floor installation process took two days.
Followed by two days of settling before walking on it or moving things back into the garage.
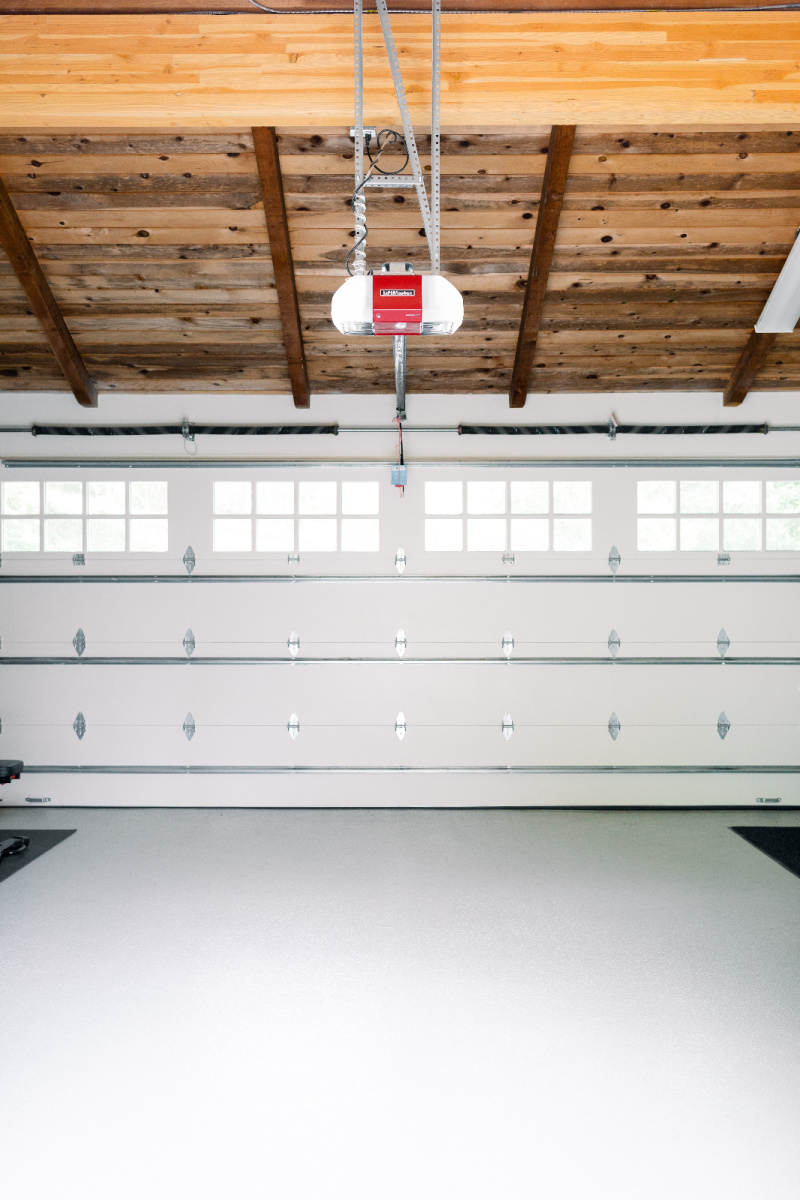
After
At the end of the first day we realized the color didn’t match our sample.
Turns out the sample was mislabeled.
At that point changing the color would require the floor be completely removed and redone.
We decided to live with the solid gray.
After all, it’s a just garage.
CABINET INSTALL
And just like that it was cabinet installation day.
The entire installation took just half a day.
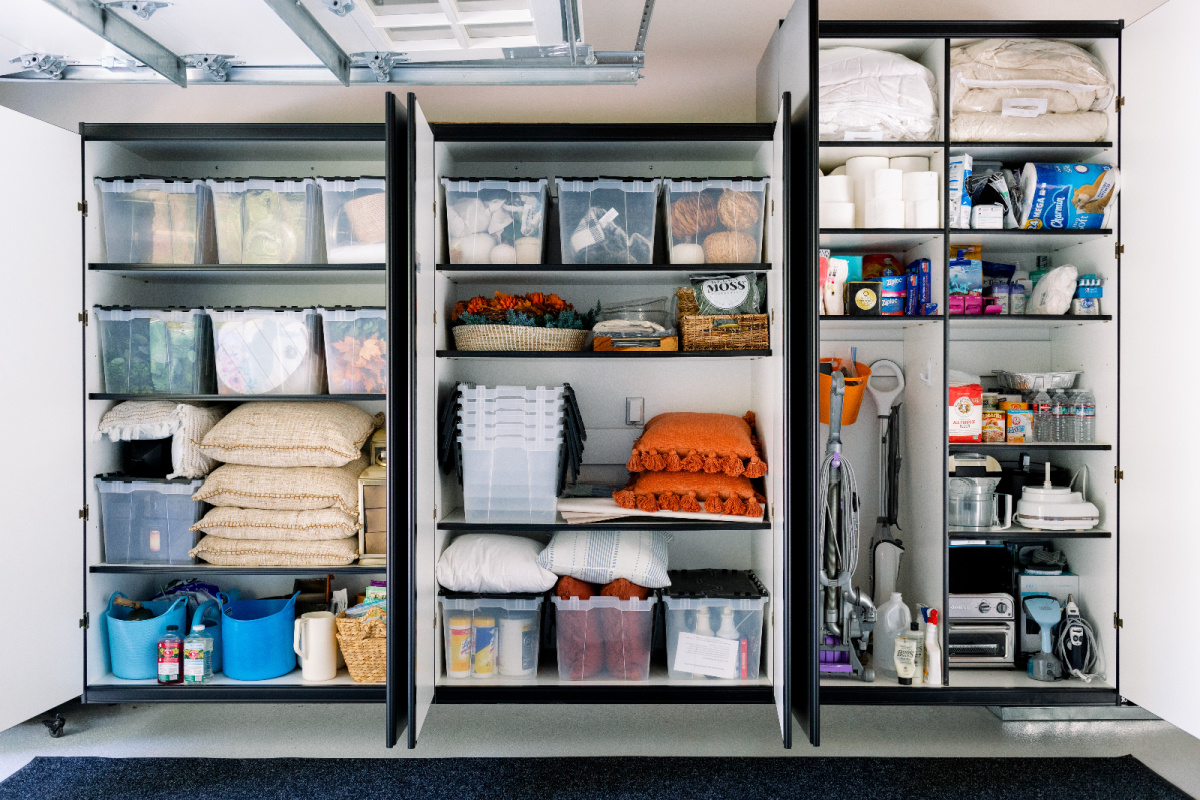
After
As much as we like everything behind closed doors, some things just can’t be stored that way.
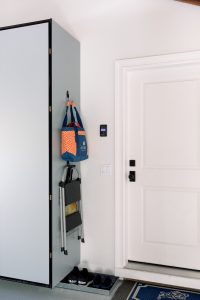
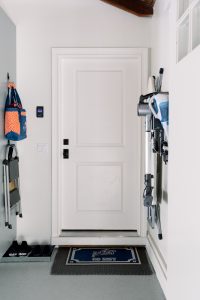
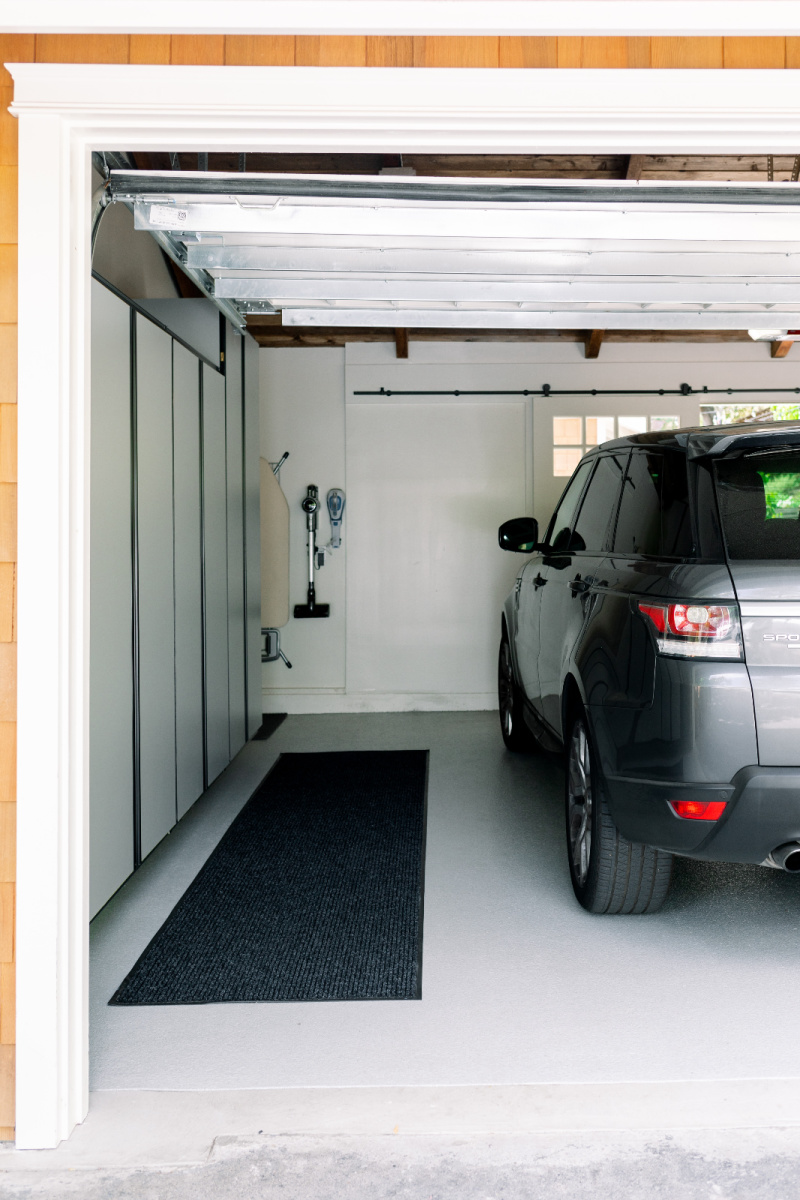
Things like our iron, stick vacuum, dust buster and step stool are hung on walls.
On the other side is our dog stroller (yes, dog stroller … Jim said not to mention it), rakes, brooms and other gardening tools.
Oh, and, of course, the Christmas tree needs a space.
And we added a carpet mat runner to create a path from the driveway into the house.
It traps dirt, dust, absorbs water and helps keep the floor clean.
You can find a similar option here.

The wall on the opposite side of the garage is cinderblock construction.
Because of that, the cabinets have to sit on the floor rather than hanging on the wall like the other side.

After
We utilize the space above and below the cabinets to store things like doormats, umbrella stands, outdoor sofa cushions and umbrellas.
HOME (GARAGE) GYM
A home gym was not part of the original plan.
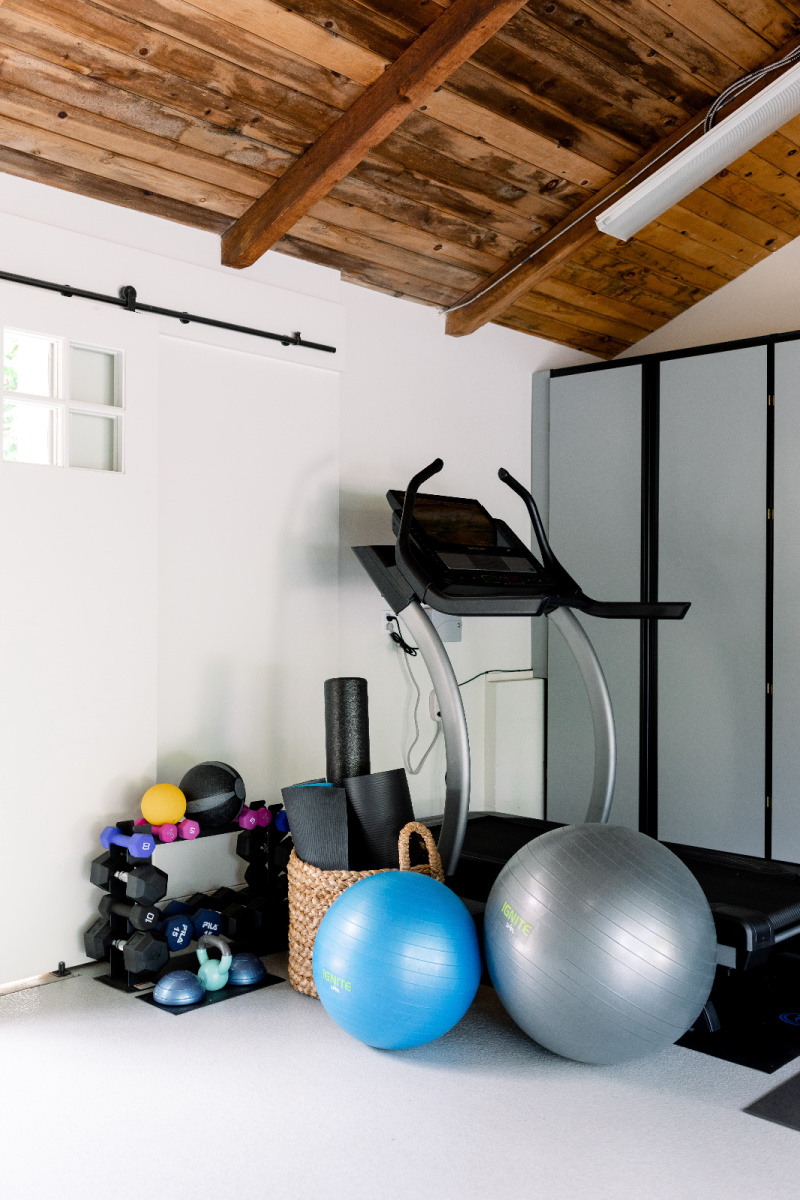
But after being home for a year we broke down a bought a treadmill.
There’s no space inside the house so the garage was the only option.
I resisted at first, but I’m glad we went ahead with it.
You can see our home (garage) gym and home gym essentials here.
WHERE ARE THE CARS?
The downside of the gym decision … only one car fits in the garage.
And today it’s mine.
After nearly a year of chaos … order has been restored!
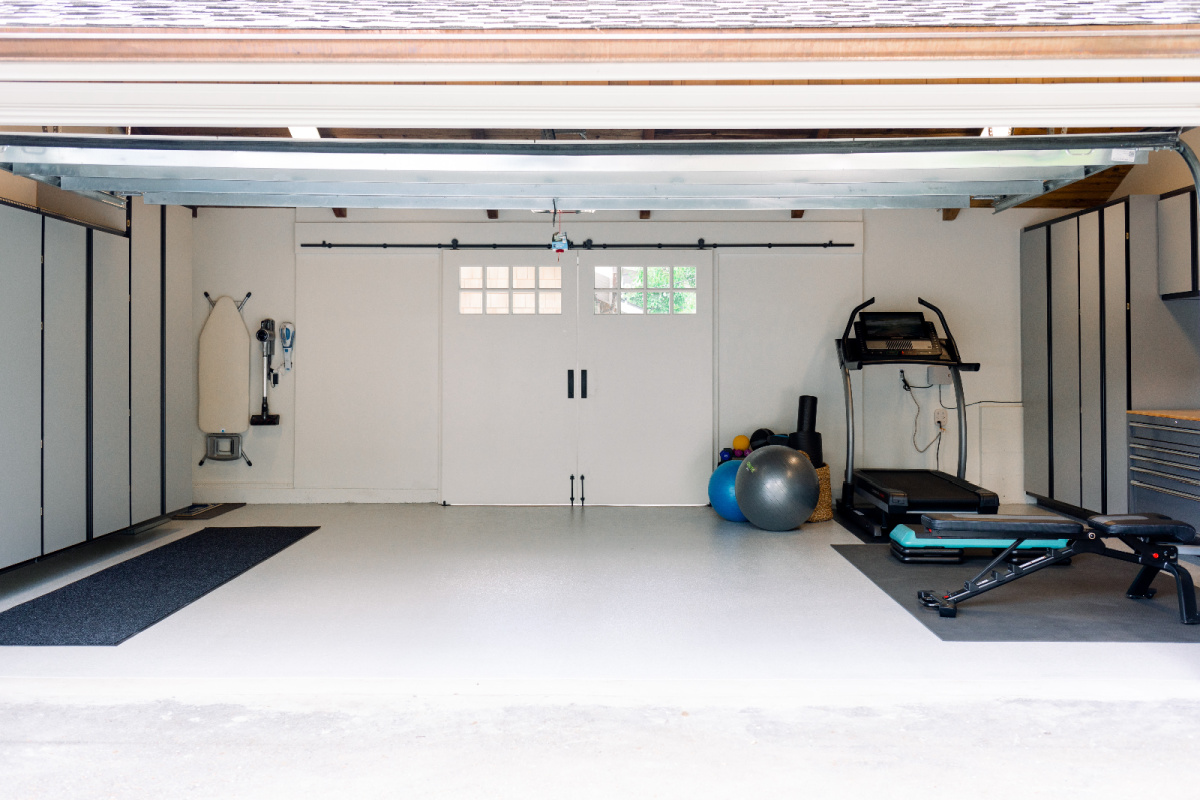
After
“Life is too complicated not to be orderly.” ~ Martha Stewart
GARAGE ORGANIZATION OPTIONS
Just as there are all kinds of garages, there are all kinds of ways to organize them … on any budget.
Jim and I have owned a lot of houses together … and organized a lot of garages.
Our first house came with the original 1950’s kitchen cabinets repurposed in the garage.
For several garages we used steel framed shelving assembled by Jim.

At our Fidalgo Island house California Closets outfitted the garage (and all our closets).
It was expensive.
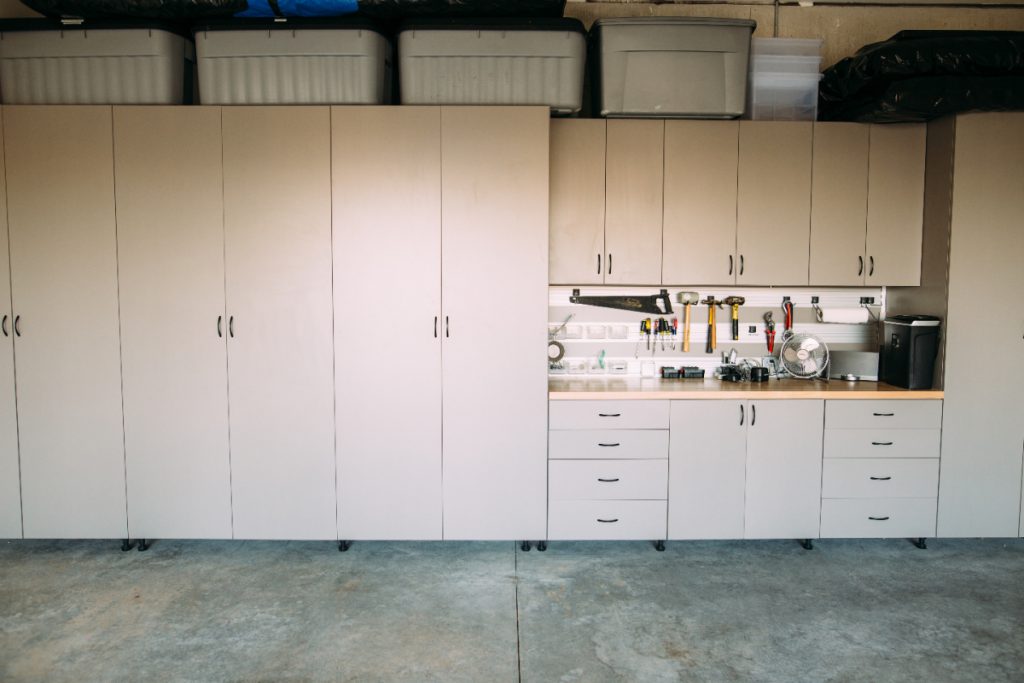
Fidalgo Island Garage – CA Closets System
We’re much happier with the We’re Organized product … and it’s about half the cost.
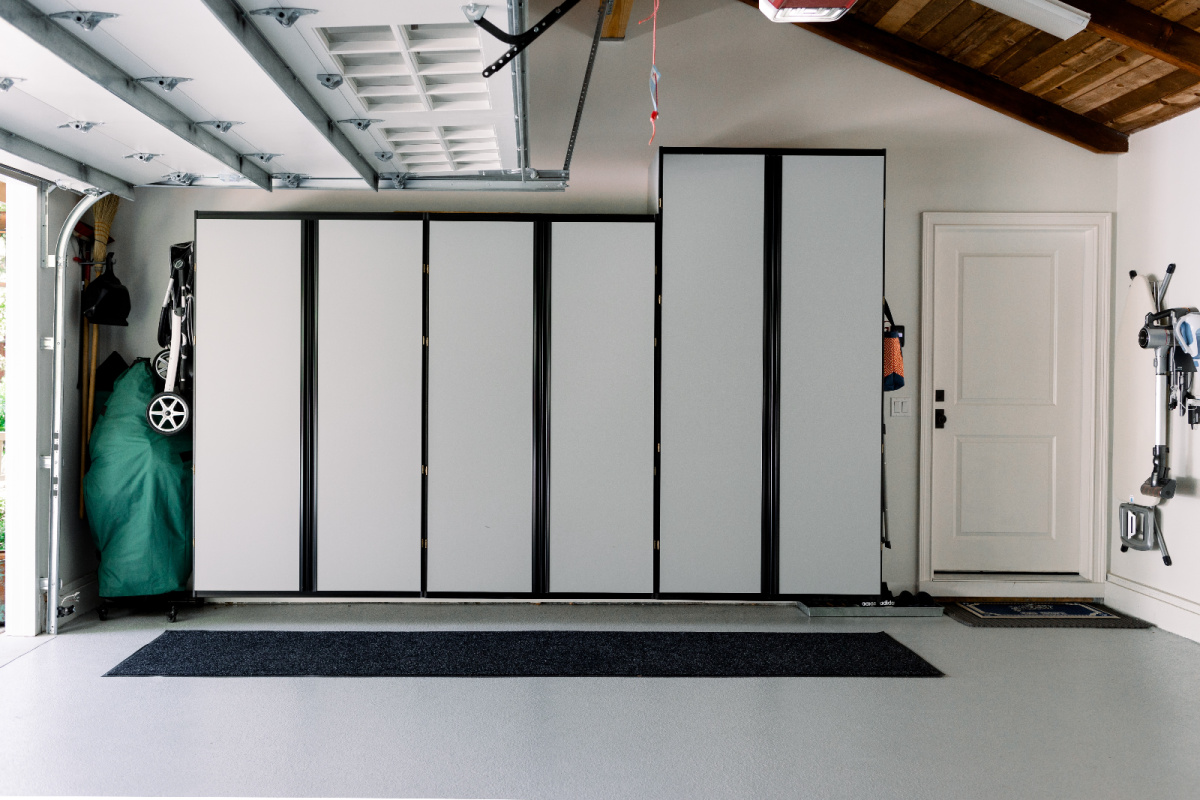
We’re Organized Cabinets
MAINTAINING ORGANIZATION
The cornerstone of any organization system is stackable bins.
Ours are a little flimsy and I’d recommend something more heavy duty.
There are so many options available … everywhere.
And they’re affordable.
I really like clear bins because I can see what’s inside and don’t need to label them.
If you use opaque bins, invest in a label maker or some type of label system.
The Home Edit pre-made labels are works of art.

Of course, the real key to an organization system is keeping it up.
We make an effort to return things to where they belong right away.
On weekends, after doing yard chores, we try to do a quick clean up, break down packaging and sweep out leaves and debris that inevitably creeps in.
When we don’t do this, things can feel out of control very quickly and I hate that feeling.
However you do it, creating and maintaining an organized garage feels great.
Just ask Pippa.
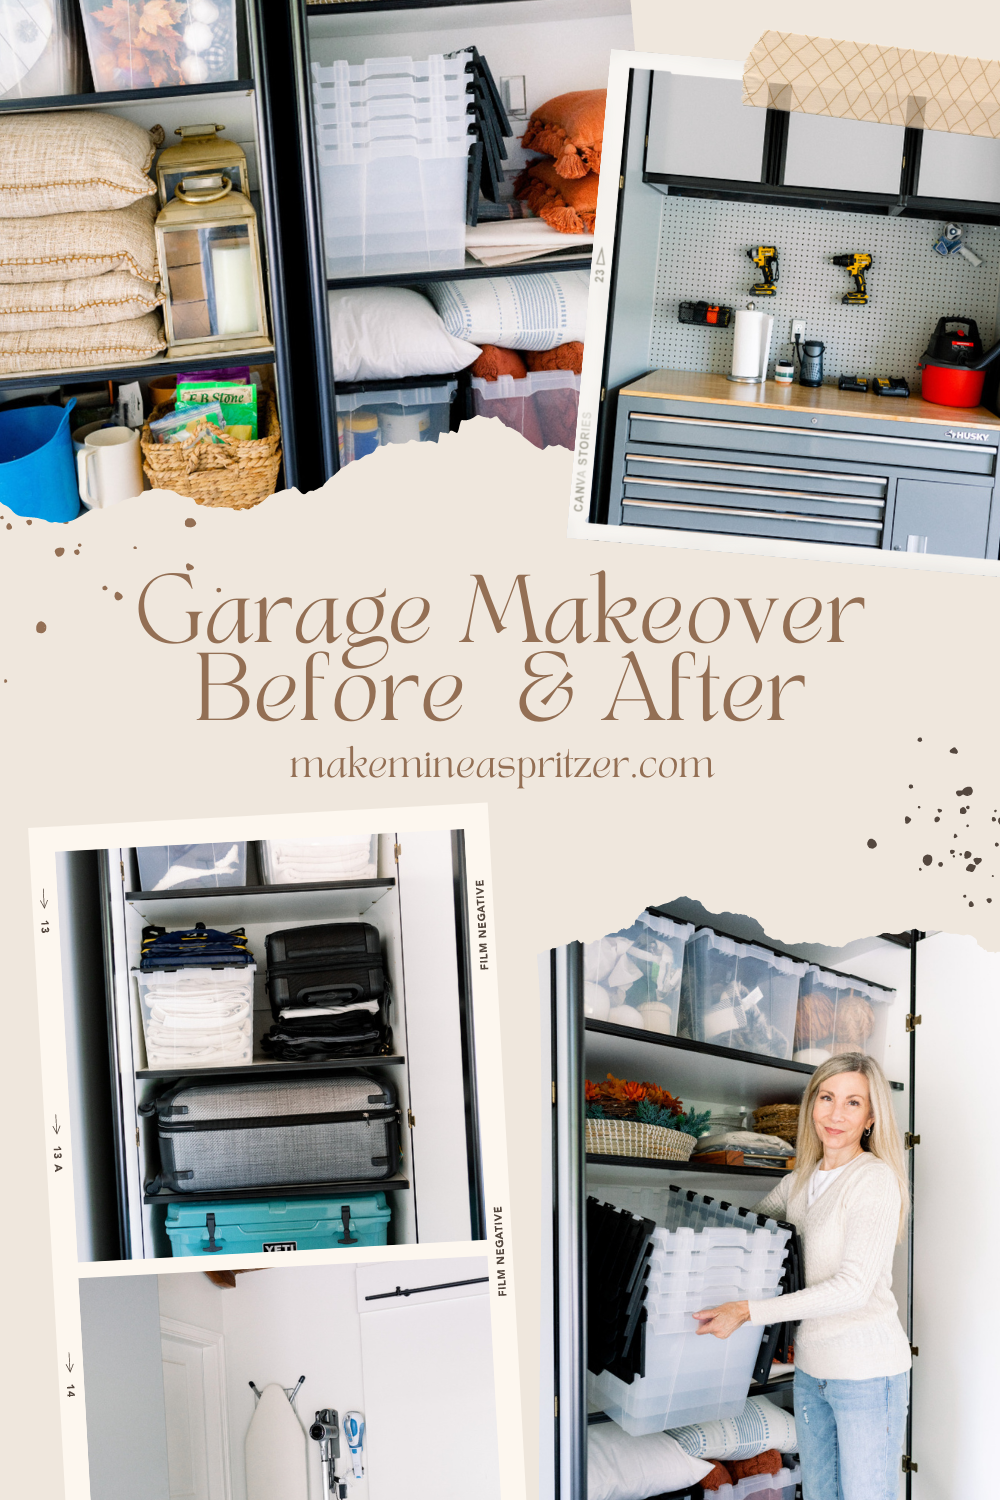
And there you have it, Snowberry’s garage makeover … before and after!
What do you think?
PIN THIS POST TO SAVE FOR LATER ~
WHAT TO WEAR WHILE ORGANIZING YOUR GARAGE?
So glad you asked … I’m wearing a ripped girlfriend jean, classic white tee, a lightweight cable knit pullover and vans.

The pullover arrived in my last StitchFix. I have a love hate relationship with StitchFix, but this pullover is firmly in the love column. Aside from the pullover, they’ve missed the mark lately. By a long shot. But they’re offering a limited time $50 credit for new subscribers. And, they’ll give me a $50 credit too.
If you’ve been curious to try StitchFix, now might be the time. I posted the $50 credit link on my Make Mine A Spritzer Blog Facebook page.
Honestly I’ve been happy with StitchFix for six-plus years, so maybe we’re just going through a rough patch. I hope so because I’d hate to break up.
As always, I appreciate your visit and welcome your thoughts and questions in the comments below.
Cheers from Snowberry!
SHOP GARAGE ORGANIZATION ~

















Reader Interactions